

How To Draw Knights, Kings, Queens & Dragons Pdf
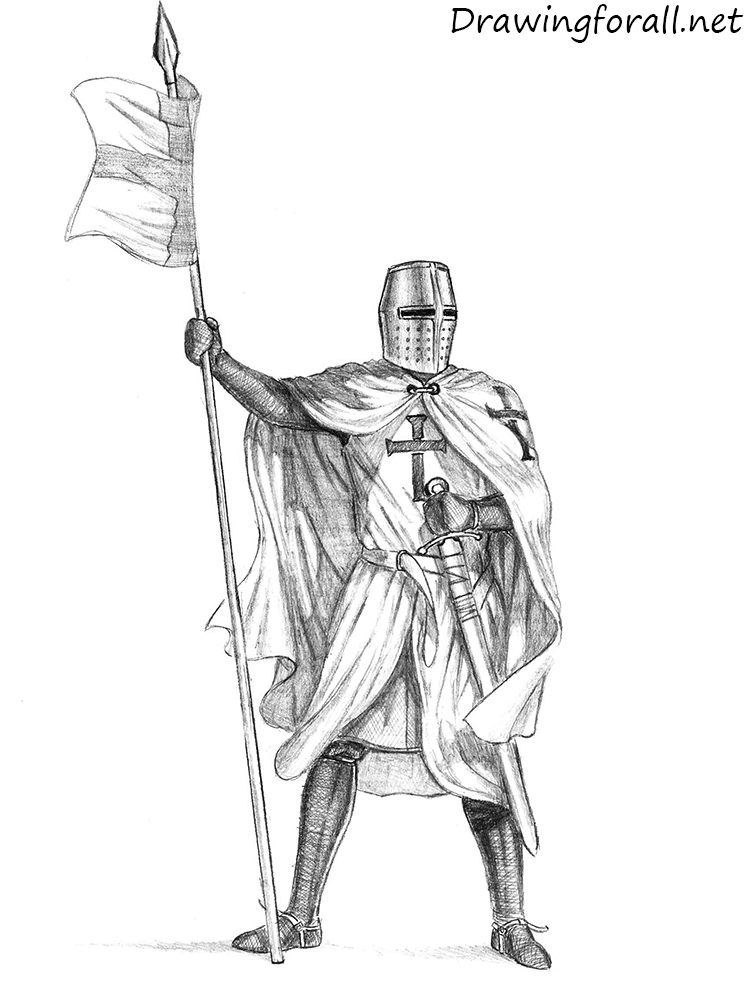
Hullo, everybody! In today's drawing lesson we volition prove you how to draw a knight. As anybody knows, the knight – is not just a warrior who fought with dragons in the medieval ballsy. As the samurai, knights were not but warriors, but special representatives of the nobility. So, let's start the cartoon lesson and larn how to describe a knight.
Step i
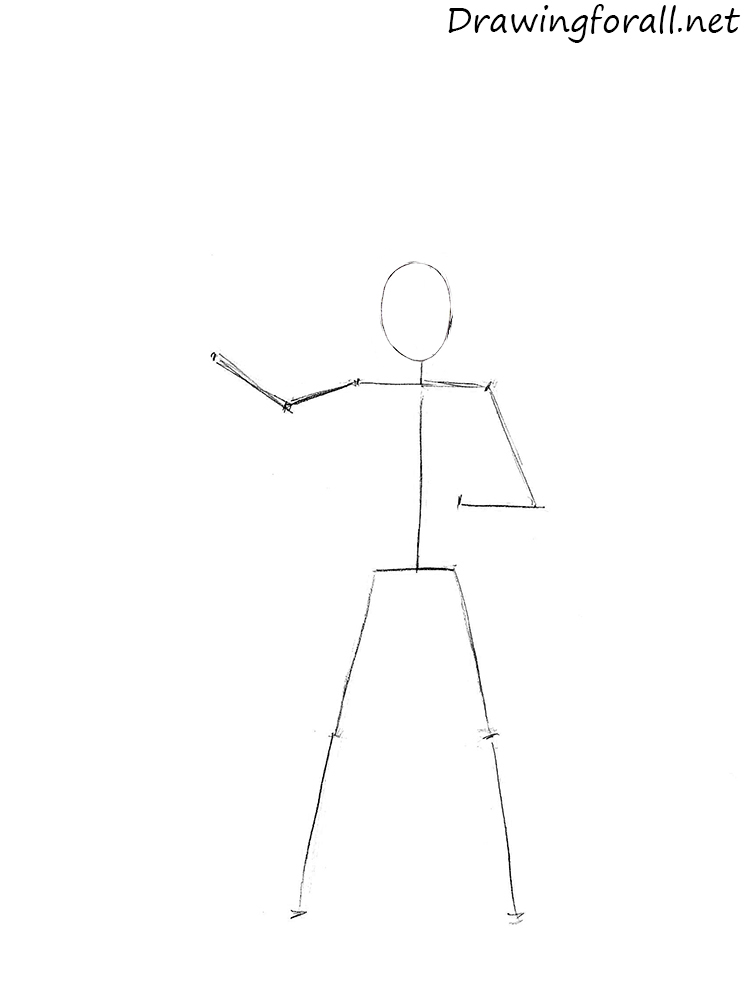
At first allow'southward sketch out the skeleton of the knight. Depict the outlines of the caput, using an oval. Right beneath the head draw the spine, which is equal to two heights of the caput. Sketch out the guidelines of shoulders. The width of each shoulder equals to the width of the head. Describe the guidelines of the shoulders. Draw the guidelines of the legs. The height of legs is equal of the height of the spine.
Step 2
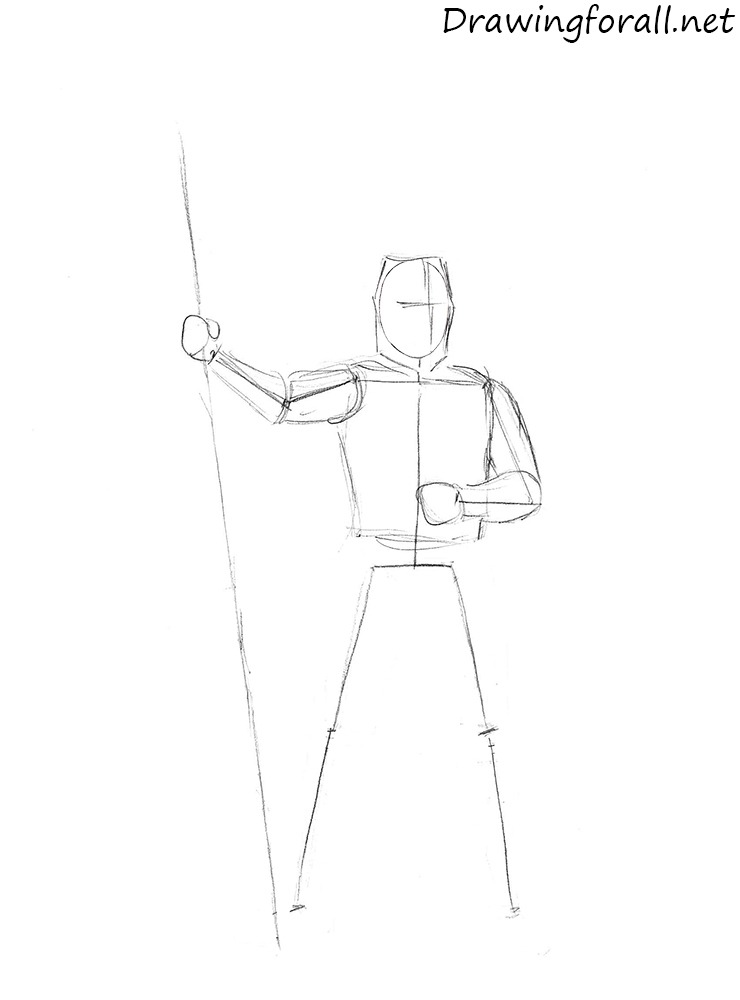
At this step, we will add some mankind to the knight. Sketch out the helmet on the head of the knight. Using a big cylinder describe the outlines of the torso. Draw the arms, each of which consists of two equal cylinders. Sketch out the hands
. Using long and straight line, draw the spear in the right hand of the knight.
Step 3
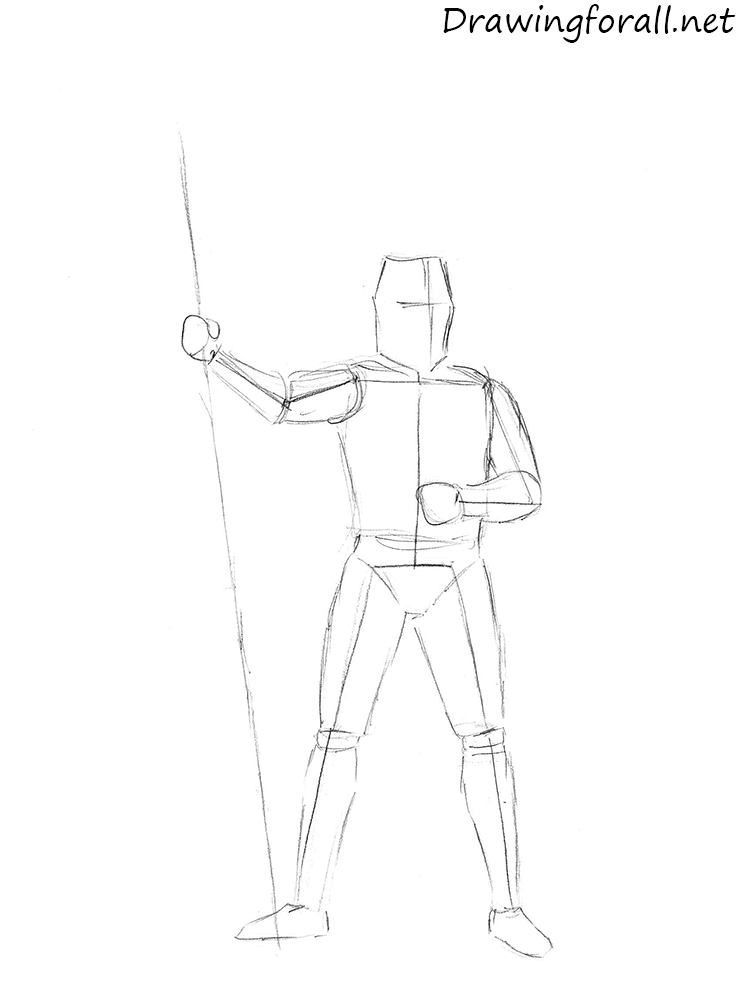
Sketch out the triangular pelvis. Using cylinders draw the legs, and outline the knees. Annotation, that the thigh and shin of about the same size. Draw the outlines of the feet. The main shapes of the knight are gear up.
Step 4
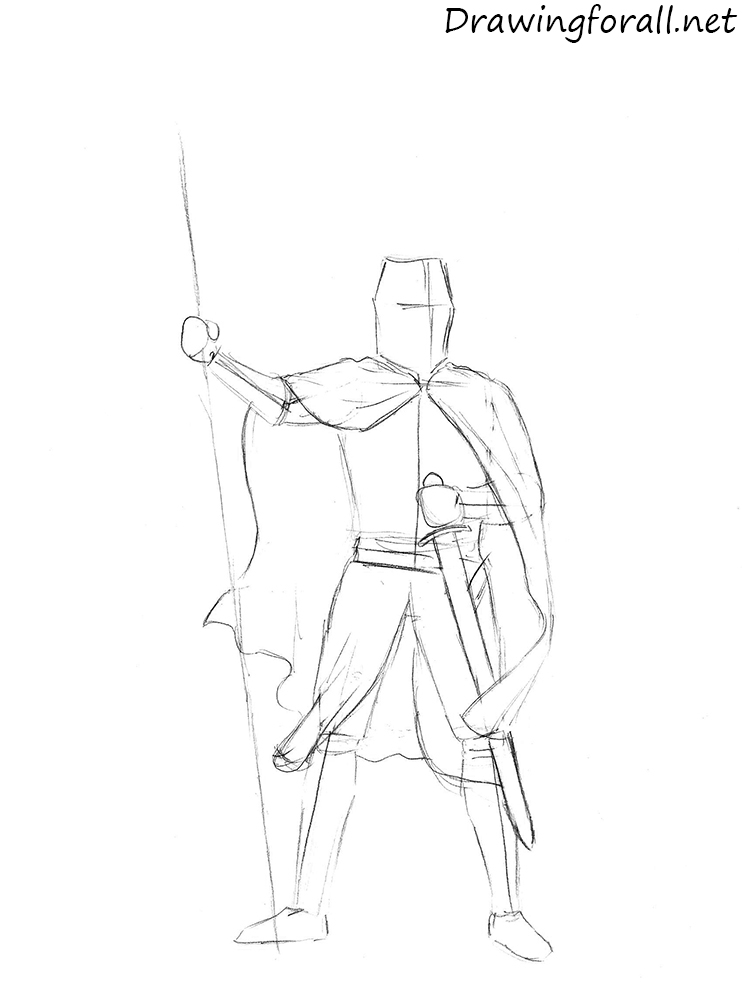
Now a scrap of work on the textile. Using curved lines depict the outlines of the cape and then add some folds to the cape. Wear, worn over the armor. Sketch out the belt and sword as in our instance. Nosotros have a set silhouette of the knight, and from the next step we begin to add together details.
Pace 5
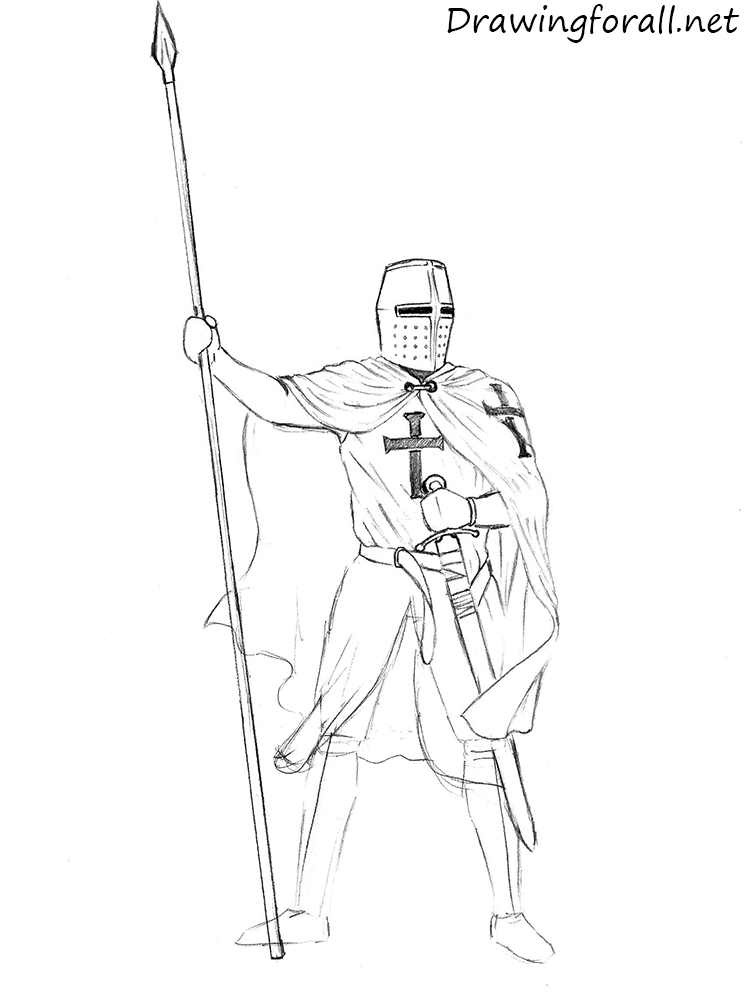
Erase the guidelines from the head. Circle the lines from the head to brand them cleaner. Using the lines of the facial symmetry draw the openings for the eyes and the vertical weld. Depict the details of the helmet as in our example.

Footstep half-dozen
Erase the guidelines from the cape and artillery. Circle the lines, making them cleaner. Describe a cord with two buckled merely below the pharynx. Add together the folds to the cape. Delight note that the fabric follows the contours of the body. Describe the spear.

Stride seven
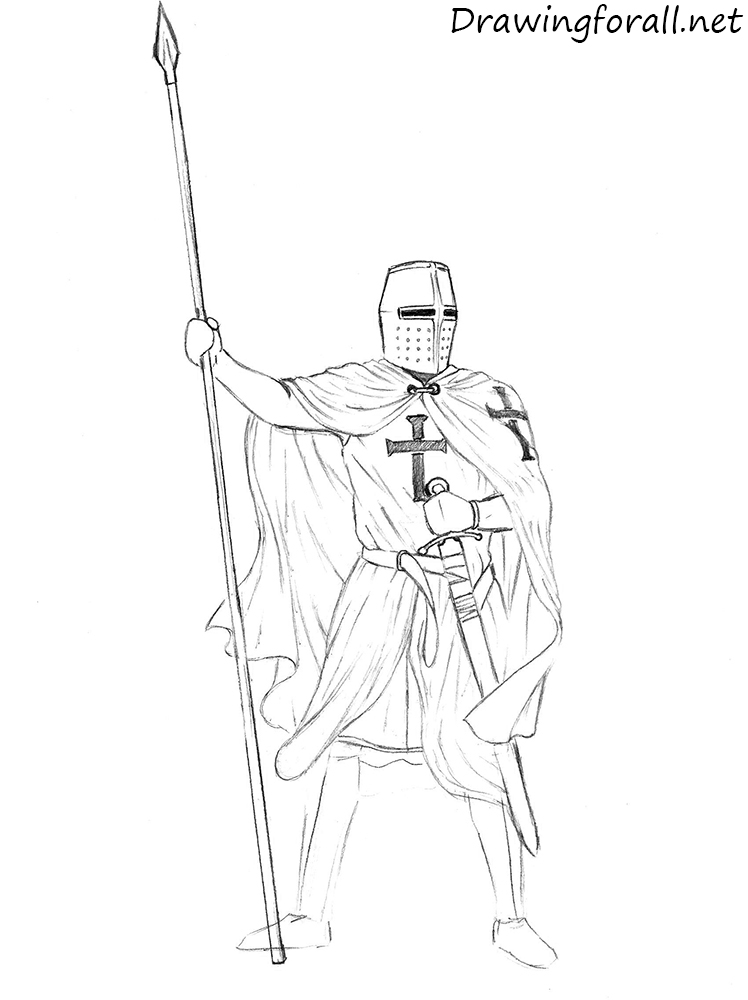
Erase the guidelines from the torso. Circumvolve the lines and add the folds to the fabric. Depict the cross on the center of the chest. Draw the belt, that tightens the waist and creates folds on the dress. Draw another cross on the left side of the cape, only do not forget to have into account the folds in the fabric. Depict the left manus, sword and straps on the sword.
Step 8
Erase the guidelines from the cape and lower role of the surcoat. Using curved lines describe the folds of fabric on the clothes. Under the cloth draw another layer of clothing.
Step nine
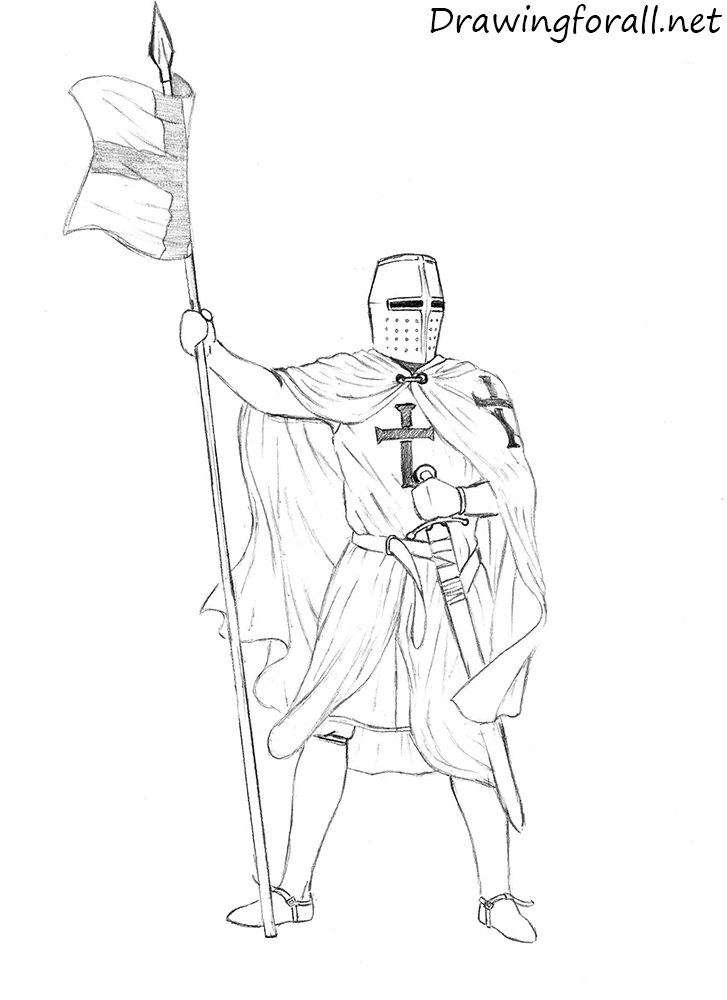
Erase the guidelines from the legs. Post sits a pretty tight on the anxiety, and so that describe the outlines of the calf muscles. Describe the straps on the legs as in our example. Draw the tissue with a cross at the stop of a spear and add some folds.
Step x
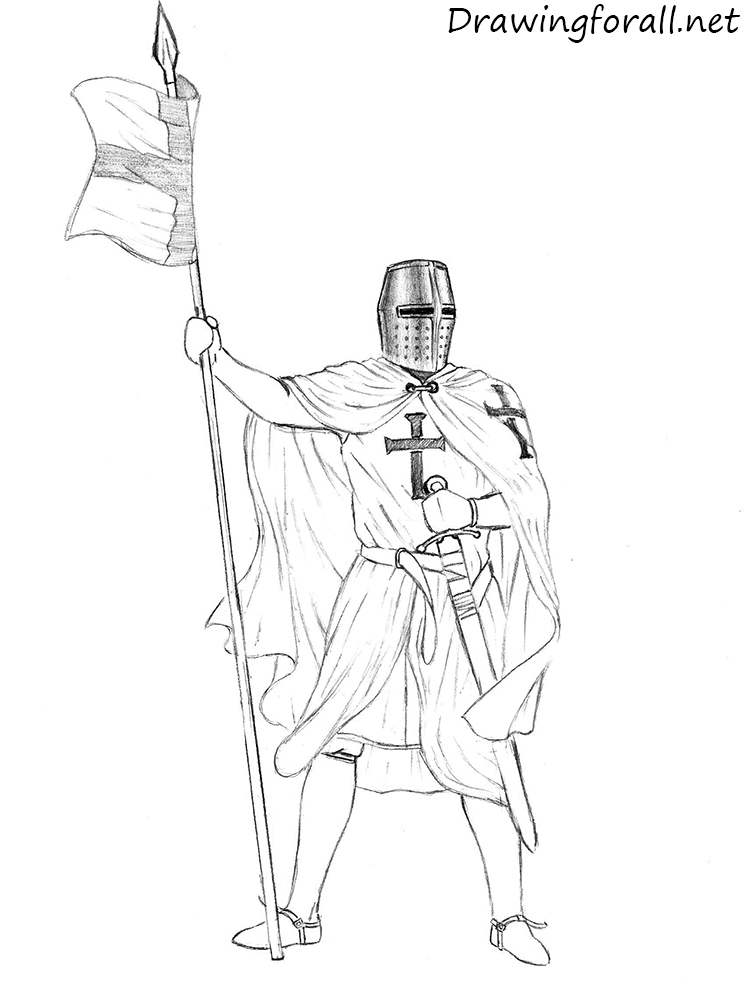
So, the knight is set up, and from this footstep we will add shadows and final touches. Using vertical strokes draw the shadows. First describe the darkest areas of the shadows, trying to signal the cylindrical shape of the helmet. And then, using more than lite strokes, announce the transition from shaded areas to light.
Step 11
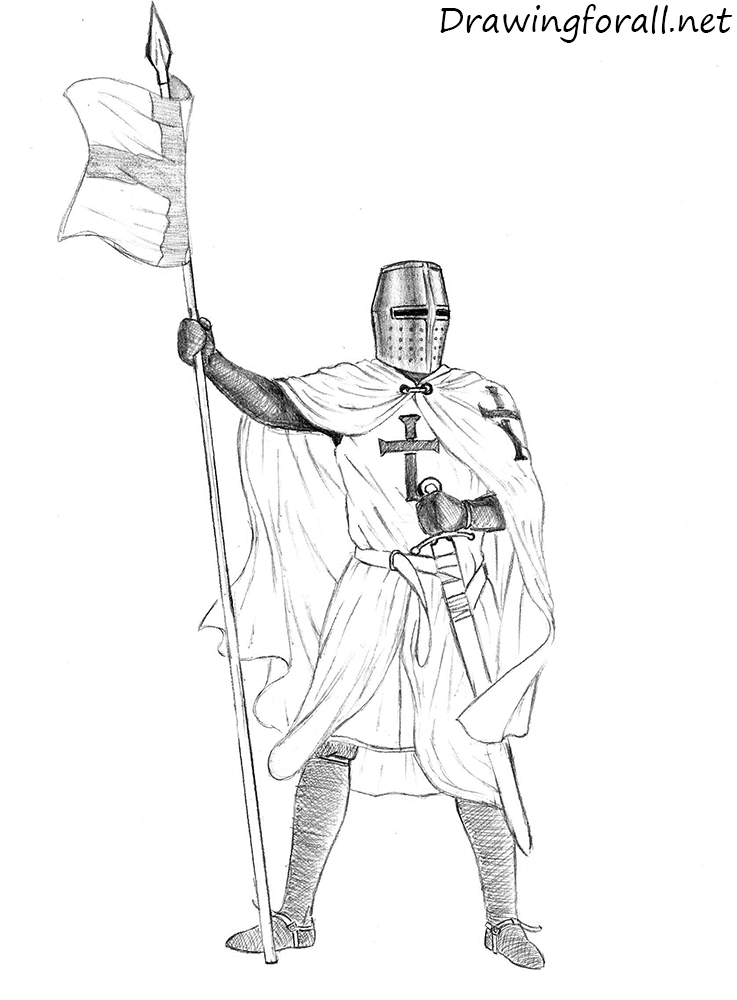
Keep the drawing lesson on how to draw a knight. Using cantankerous hatching depict the mail. Note, that the texture of the mail service should follow the shapes of the muscles. And so, using dark strokes add shadows to the artillery.
Step 12
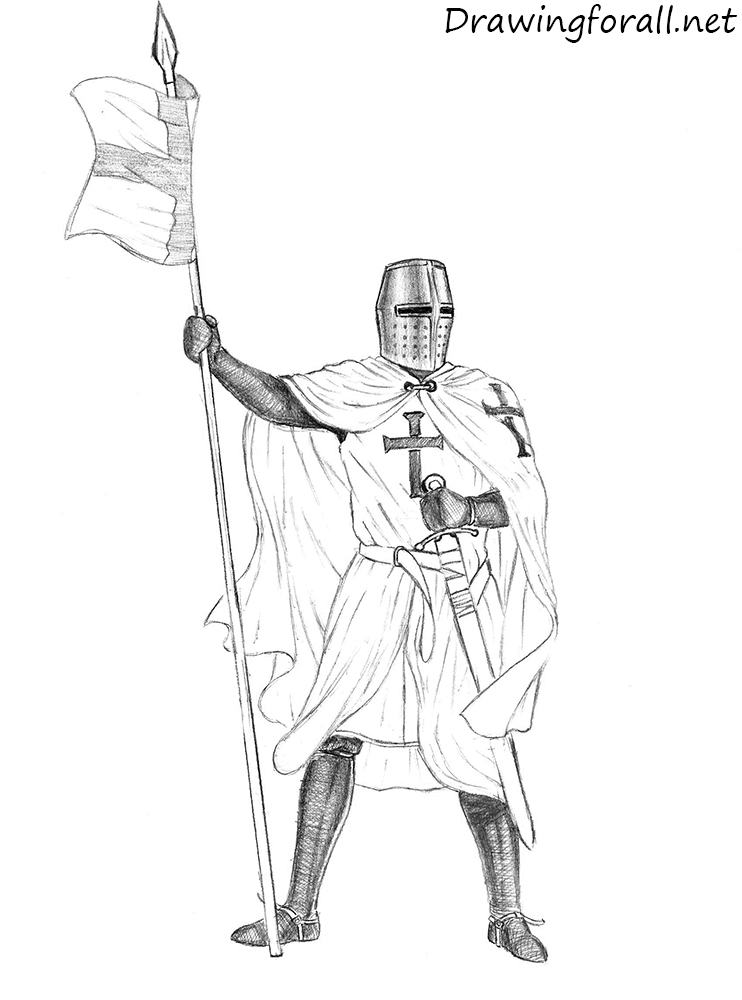
Equally last step, add together the shade to the legs. To give more than realism, leave narrow reflex strips of low-cal (the light that is thrown on the knight from the vivid surface of something) on the inside of the lower leg in the area of the dogie muscles. Especially thick shade will be thrown past the surcoat.
Step 13
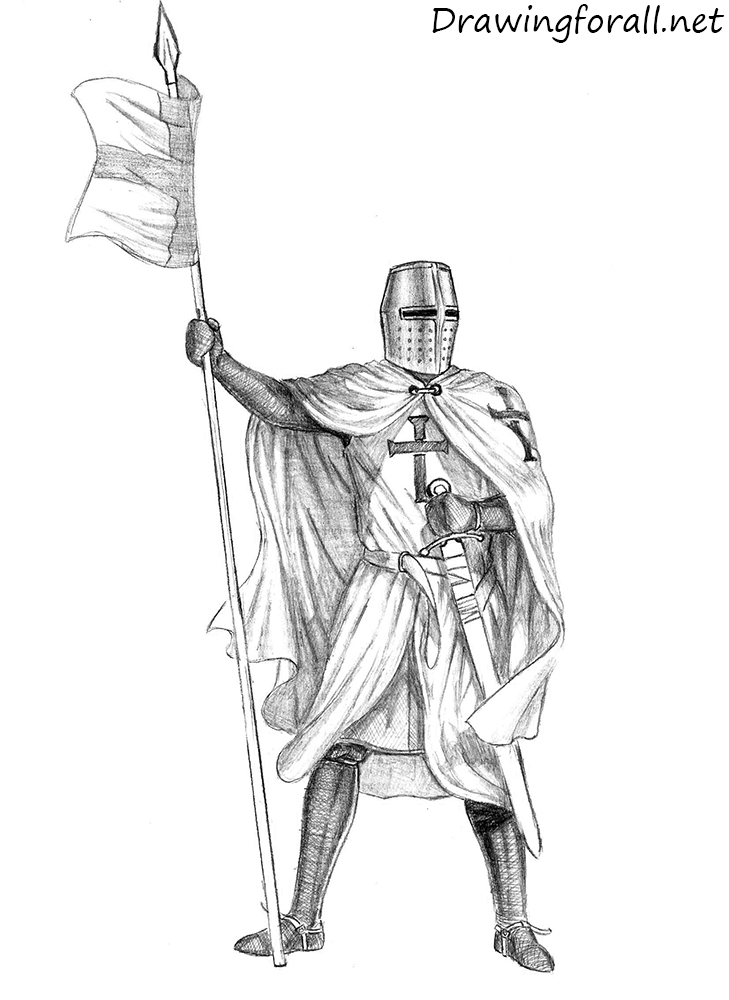
At this step let's work on the shadows on the dress. This footstep seems too difficult, simply it isn't so. At offset we need to find the source of the light. As you lot tin can run across, the low-cal comes from the upper correct side. So we need to add shadows to the areas where no low-cal is falling. To describe the shadows, use very dense hatch.
Step 14
And so we got to the last step of the lesson, in which we draw a knight. Using calorie-free hatching draw the casting shadows as in our example. Watch on your cartoon, erase the unnecessary strokes, and make the concluding touches.
It was a hard cartoon lesson about how to describe a knight by Drawingforall.internet. If yous tin can not deal with this cartoon from the showtime fourth dimension, don't worry – continue to draw and practise.

Source: https://www.drawingforall.net/how-to-draw-a-knight/
Posted by: rachelfloore.blogspot.com
0 Response to "How To Draw Knights, Kings, Queens & Dragons Pdf"
Post a Comment